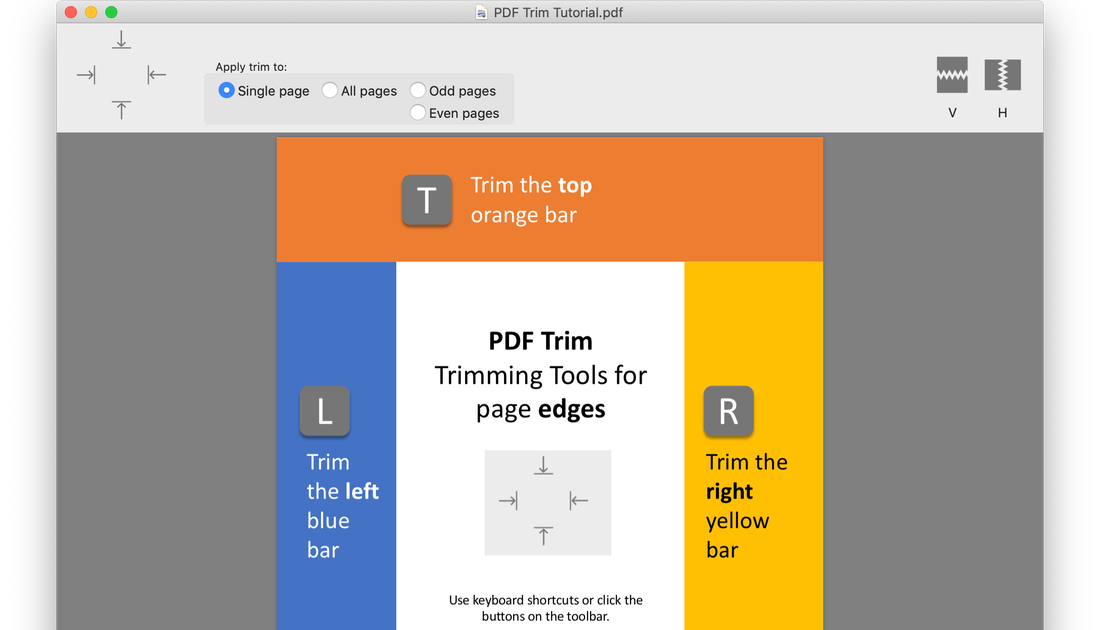
PDF Trim is a utility for macOS 10.12+ that can be used to intuitively trim the edges of PDF pages. Additionally it provides tools for cutting out a mid-section of a page, or deleting an entire page. PDF Trim is especially useful for quickly editing PDF pages saved from web articles. When PDF Trim launches, it displays the "PDF Trim Tutorial" PDF, ready for you to edit. You can practice using the tools on this PDF. At any point, you can reset the PDF to the original version, using the Help menu → "Show PDF Trim Tutorial PDF" command. Follow the instructions on each page to quickly master PDF Trim.
Trimming the Edges of a PDF
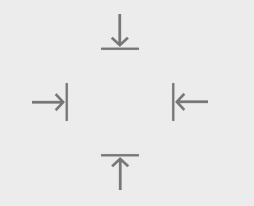
Use the arrow buttons at the top-left of the toolbar to select a trim tool. The keyboard shortcuts are T, L, R, B for the top edge, left edge, right edge, and bottom edge trim tools, respectively.
In the following figure, the top-edge trim tool (shortcut T) is active, shown with the red highlight on the button. When the tool is active, then without clicking, as you move the mouse, the area that will be trimmed out on the page is shown with a light red overlay. When you click, the trim will be applied to the page. To undo, use ⌘ Z.
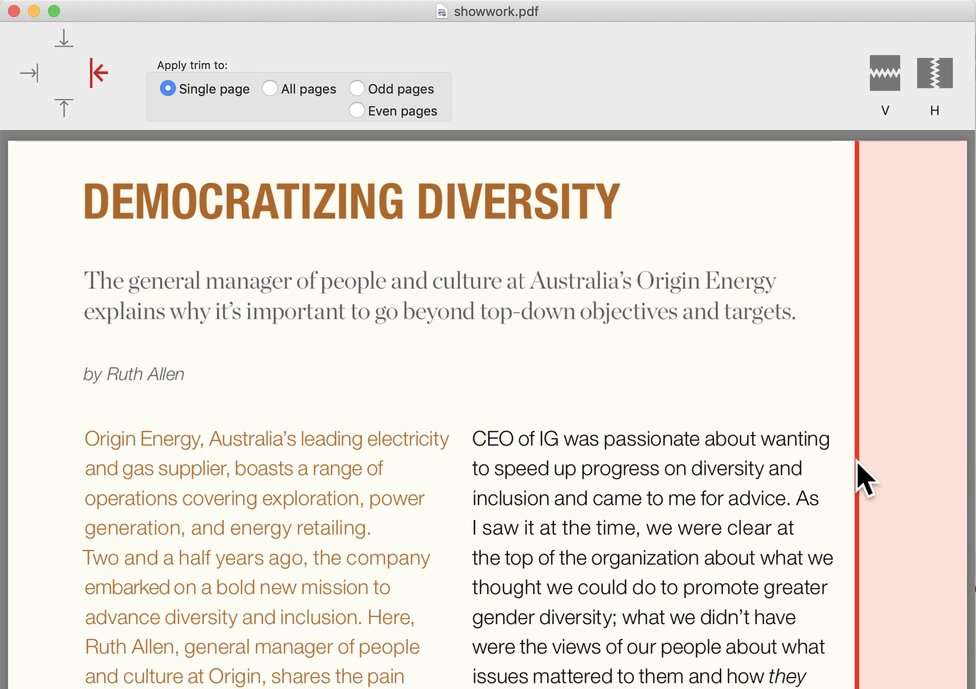
The other edge trim tools work the same way. In the following figure, showing the page after the top-edge trim was applied, shows that the right-edge trim tool (shortcut R) is now active. The red overlay follows as you move the mouse, and the trim takes effect when you click. Use the red line as a guide to apply the trim precisely.
Trimming Multiple Pages
You can select whether the trim tools will apply only to a single page, to all pages, or specifically only to odd and even pages. The red overlay will accordingly be shown on multiple pages, as applicable
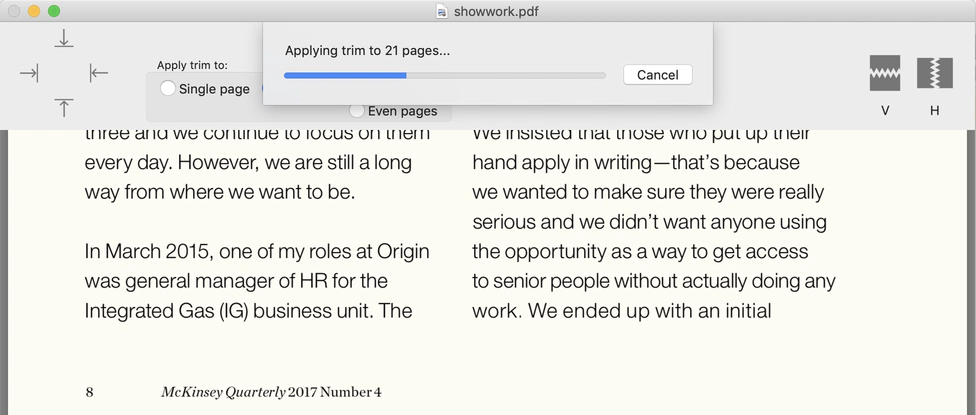
When applying a trim to multiple pages, it may take a while to complete. A progress indicator is shown while the trim is in progress, with the option to cancel. You can also undo the trim (⌘ Z) if you'd like to try again.
Cutting out a Mid Section of a PDF Page
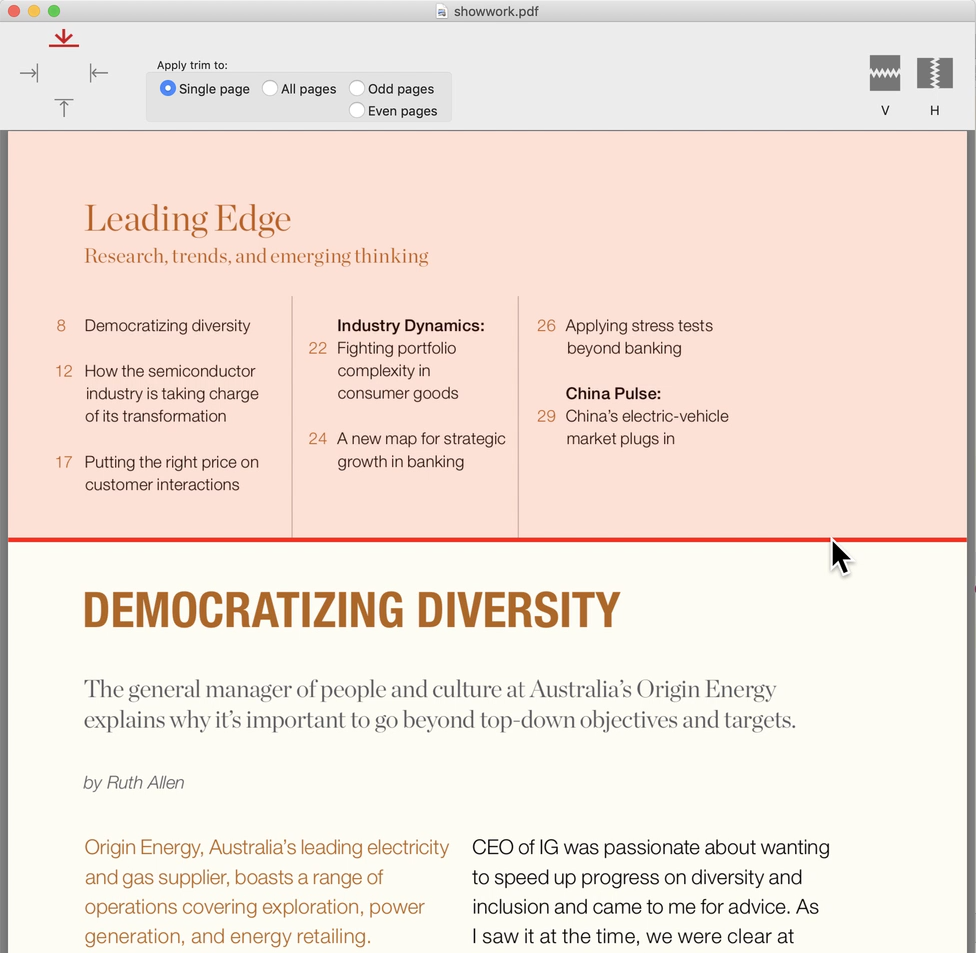
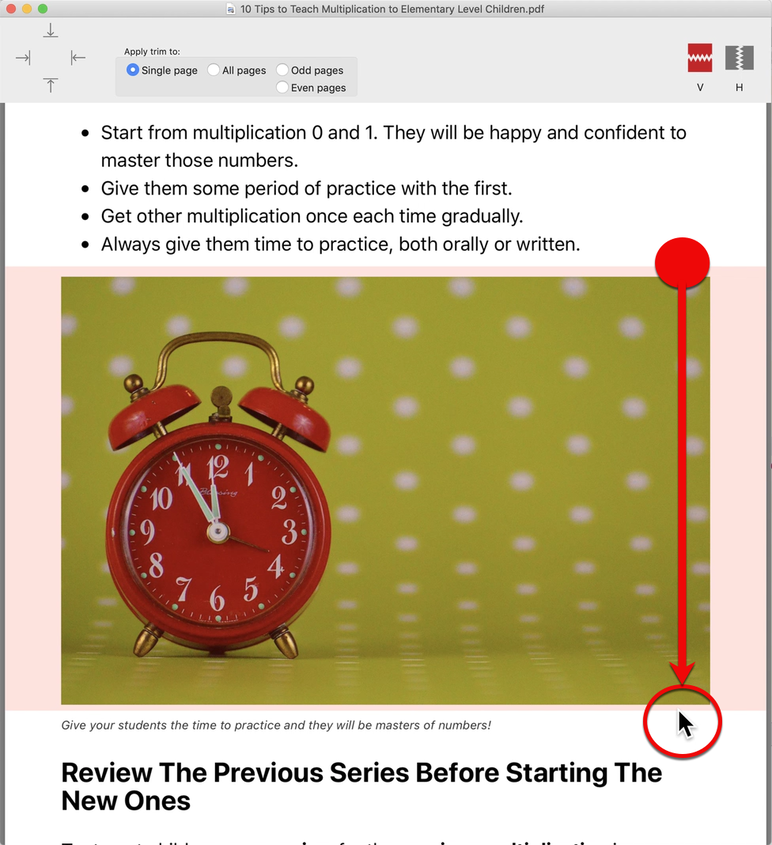
To demonstrate where cutting out a middle section of the PDF page may be useful, consider the following article saved from the web as a PDF. This PDF was saved using the Reader view in Safari, which does an excellent job of cleaning out the page and emphasizing the content. However, this article is also littered with lots of images, which in this case, don't really add meaning to the content. To get rid of this image, we can use the vertical mid-cut tool (shortcut V). To use the tool, first click on where you want the cut to start, and then as you move the mouse, the red overlay will indicate the part that will be cut out. In the figure below, the bright red annotations show where the first click was placed, and how the mouse was moved vertically down.
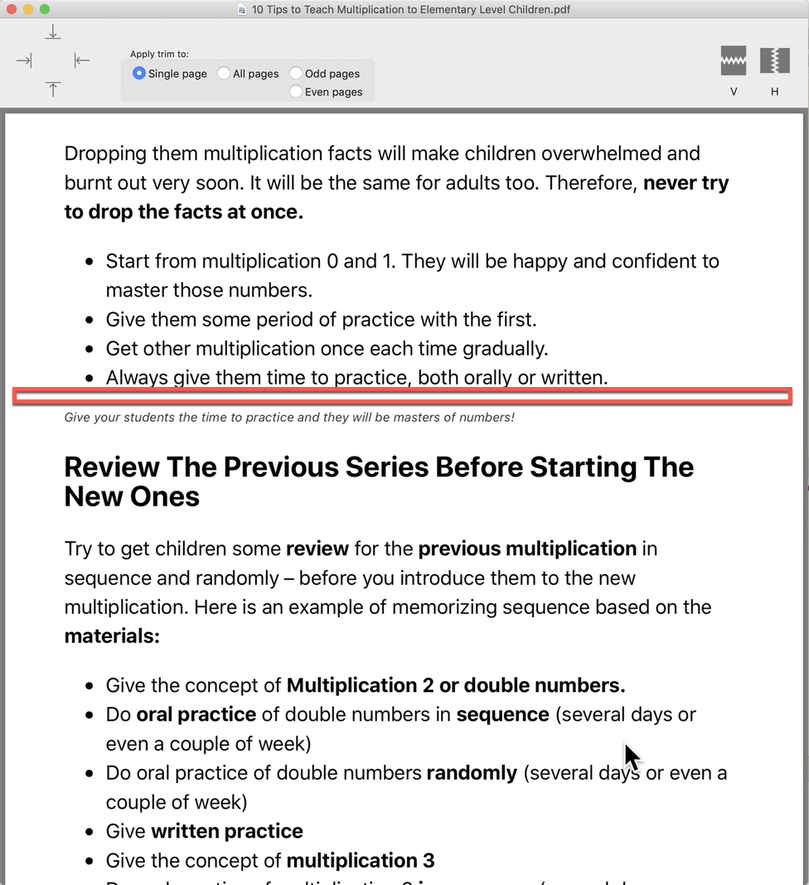
When the mid cut is applied, the PDF page is shortened accordingly.
The vertical mid-cut tool (V) and the horizontal mid-cut tool (H) are only applied to a single page.
Delete a Whole Page
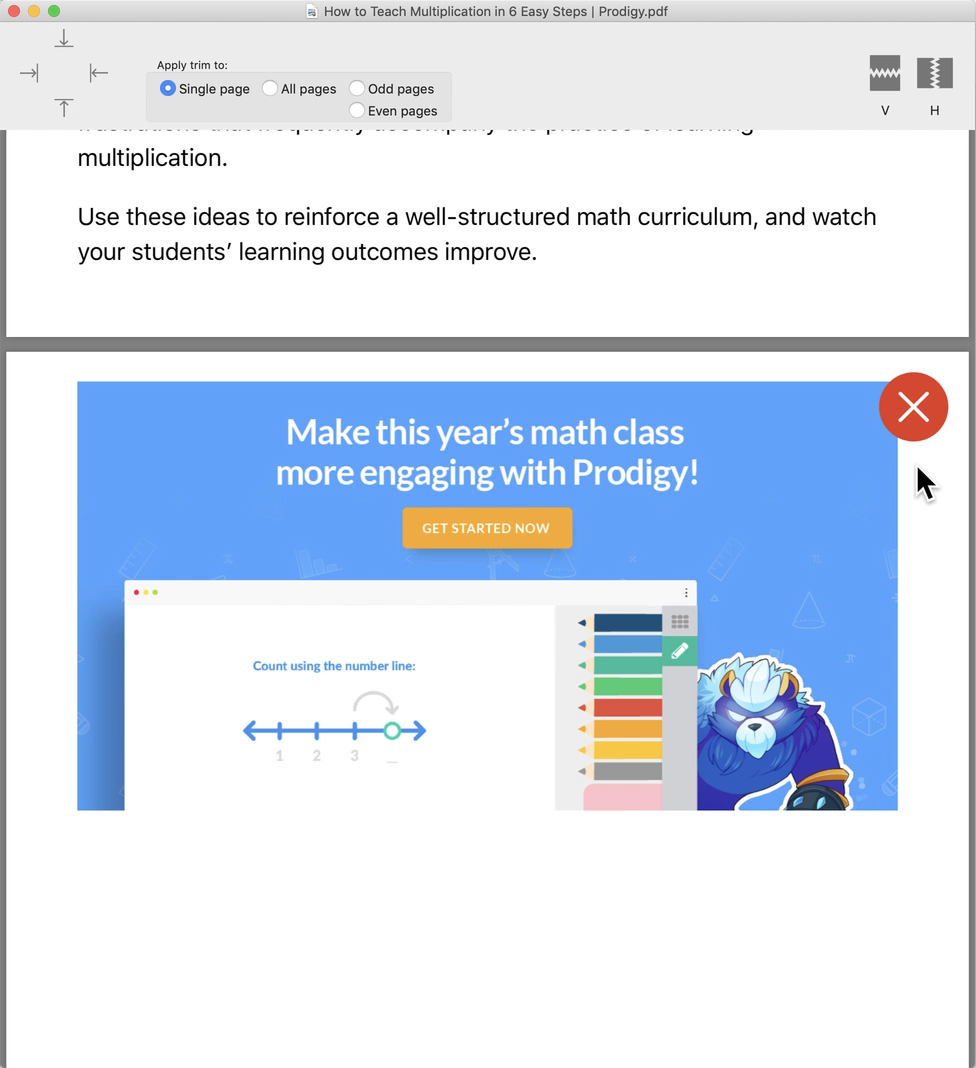
Usually when printing web articles to PDF, the last page may be blank or it may contain irrelevant information. In PDF Trim, you can delete a page easily. Hold down the Option key to reveal a red X on the top right of the current page. Click the X to delete the page.
PDF Trim in Action
PDF Trim has been designed for trimming PDF pages easily. I use it extensively for cleaning up web articles captured as PDFs.
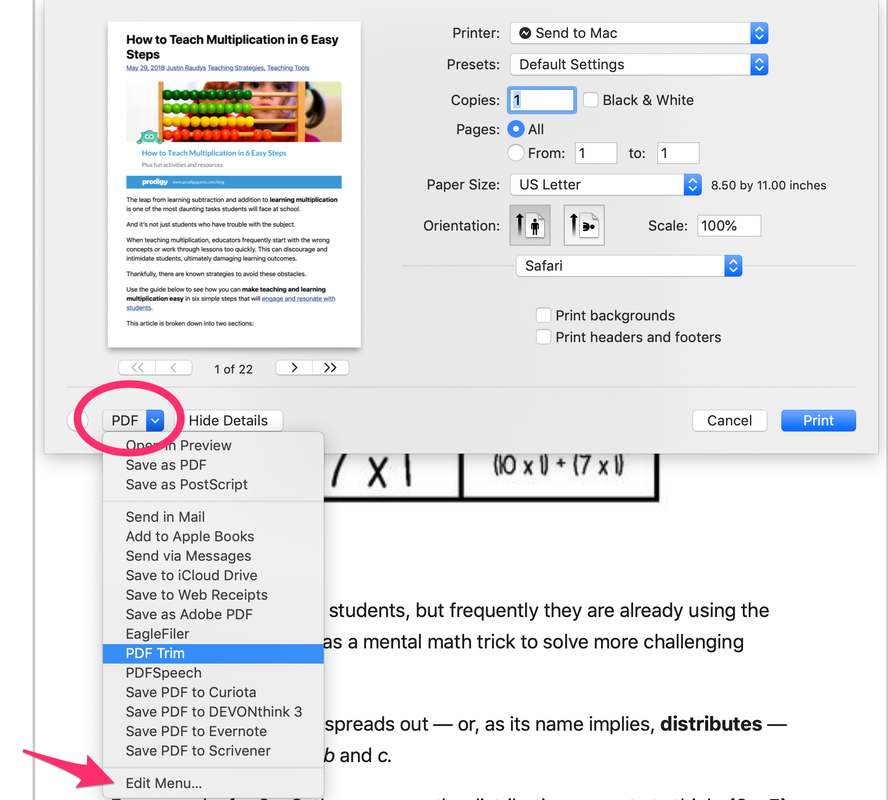
Print to PDF Trim from Safari or Google Chrome You can print directly from Safari to PDF Trim using the File → Print... dialog. In the PDF drop-down menu, choose the "Edit Menu..." command at the bottom to point to the PDF Trim app in your Applications folder.
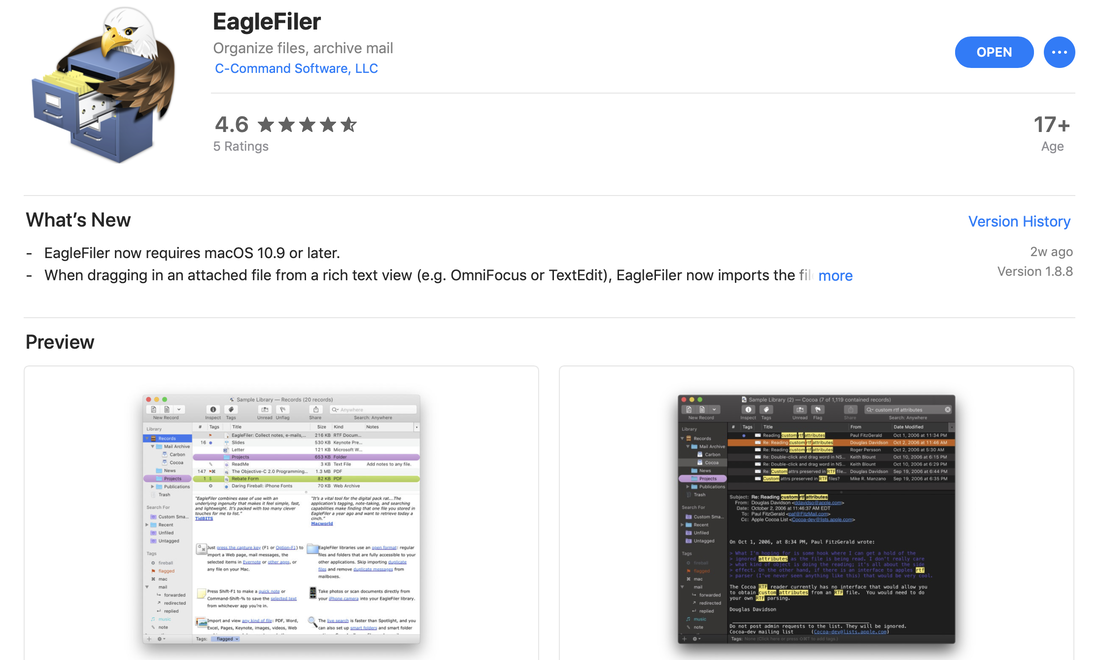
Capture Web Pages as PDFs to EagleFiler with one key EagleFiler is an excellent "database" application for managing your documents, especially PDFs. You can capture a web page into EagleFiler directly from Safari using the handy F1 shortcut. Unlike printing to a PDF from Safari, EagleFiler automates the capture, and you can instead concentrate on clipping all relevant articles in one go.
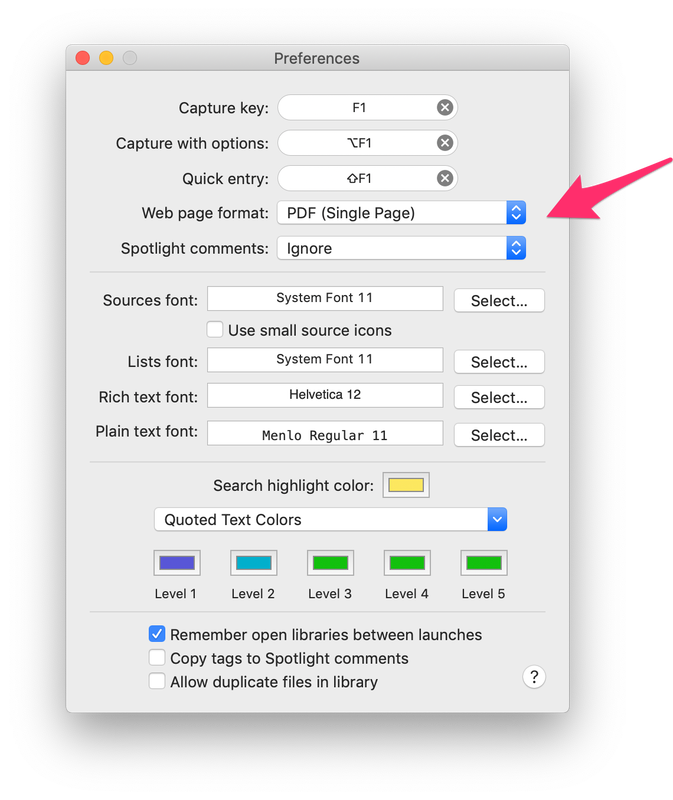
EagleFiler has a novel feature where it can capture the entire web page contents as a single-page PDF. Enable this as the default capture mode in EagleFiler Preferences.
EagleFiler Preferences: Capture web pages with F1 shortcut as a single-page PDF.
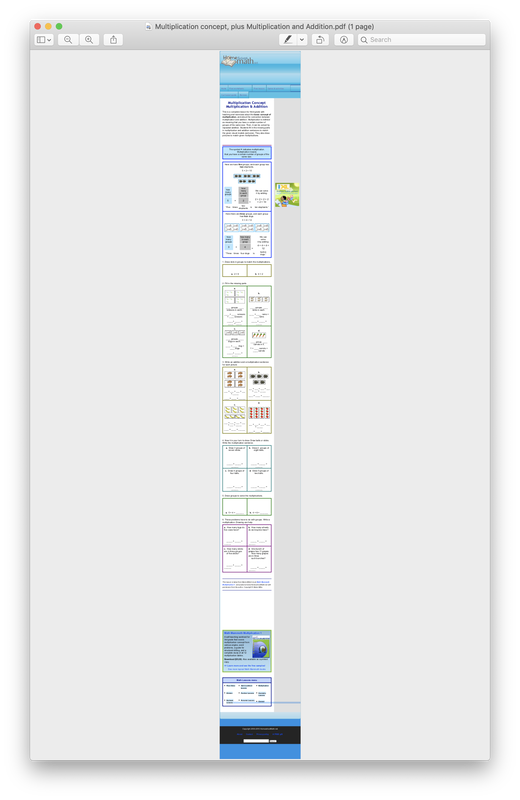
The following figure shows such a web capture. The useful content is towards the left-center of the page, and the rest of it is extraneous. PDF Trim can help to edit such captures quickly using the edge trim tools.
Single-page PDF captured in EagleFiler could use PDF Trim to remove irrelevant stuff on the page.
In EagleFiler, to open the captured PDF in PDF Trim, select the PDF in the database, then from the right-click menu, choose Open With → ... and from the list of applications, select PDF Trim. Or, you can make it easier by making PDF Trim the default application to open PDF files, while you work on editing several of the captured PDFs in PDF Trim.
To make PDF Trim the default application for opening PDF files, select any PDF in Finder, then use the shortcut ⌘ I to open the Inspector panel. In the "Open with:" section, select PDF Trim from the drop-down list, and click the "Change All..." button.
To revert to Preview as your default PDF editor, follow the same steps as above, and select "Preview" in the "Open with:" section.
Make Exact Copy of a Web Page as a single-page PDF using Papparazzi Both Safari and EagleFiler can fail when trying to capture certain web pages, if the pages contain unusual page structures or excessive popups. Paparazzi is an excellent free macOS utility to capture a web page as-is, as a single-page PDF.
The Paparazzi utility for macOS 10.9+
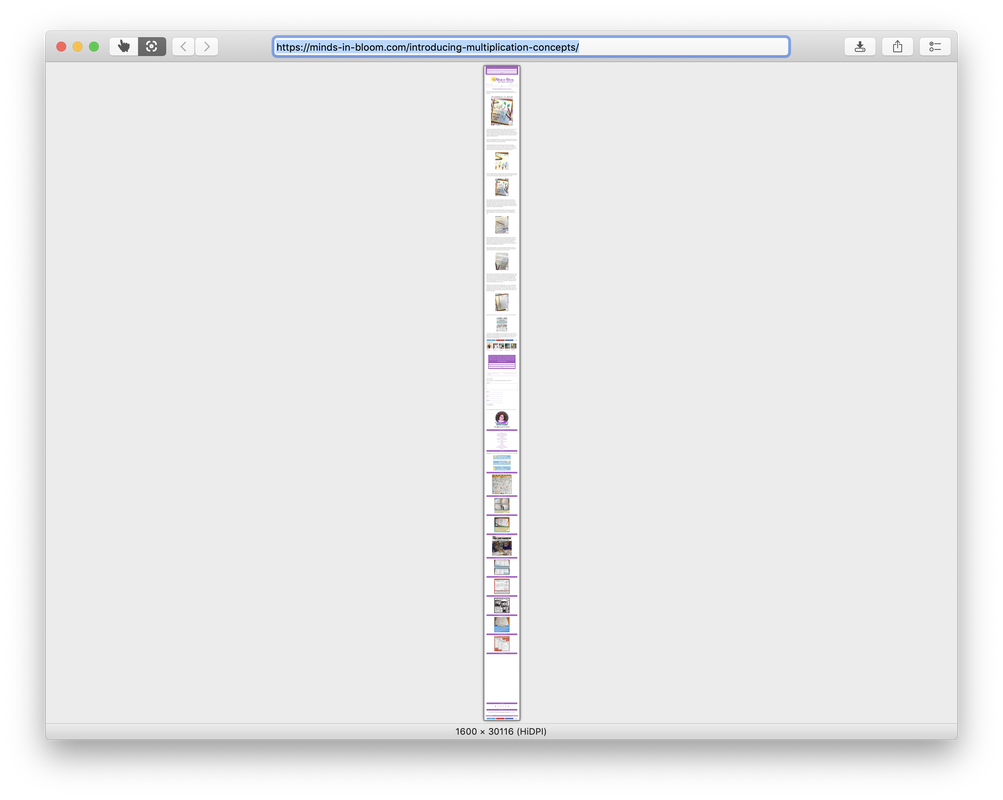
When captured in this way, the page may contain a lot of advertisements. Use the single-page editing tools in PDF Trim to quickly remove the extraneous items on the PDF page. You can drag the captured PDF directly from the Paparrazi window to EagleFiler or a folder in Finder, if you wish.
A web page captured in Paparazzi as a long single-page PDF.